How to Find and Remove Duplicate Files in Windows 10/8/7/Vista/XP

How many times it has happened that you are short on space in your hard drive and cannot find anything to delete? Most of us have a habit of collecting various media files on our hard disk and there comes a time when you run out of space. I faced this issue recently and this is the method I used to find and remove duplicate content from my hard disk.
The tool we are going to use in this tutorial is called Duplicate Cleaner. This tool provides a 15 day Pro version trial and there is also a free version available of this tool. In this tutorial I’m using Version 4.0.3 (provides 15 days trial of Pro version), but I have also used Version 3.2.7 and it works well too. Either version is available for download here. The reason for choosing this tool is its nice and easy to use interface and it does its job well. So let’s get started.
Download Duplicate Cleaner
Use the following URL to download either v4.0.3 or v3.2.7: https://www.digitalvolcano.co.uk/dcdownloads.html
You will have the file named “DuplicateCleanerPro4_setup.exe” (v4.0.3) or “DuplicateCleaner_setup.exe” (v3.2.7).
In this tutorial, I’m using v4.0.3 and you can use the same.
Install Duplicate Cleaner
Following are the steps to install Duplicate Cleaner:
- Run the setup file you have downloaded
- Select “Yes” at User Account Control popup (if applicable)
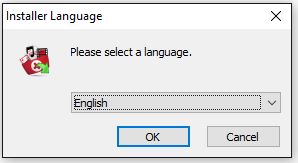
- Choose “Installer Language” and Click OK


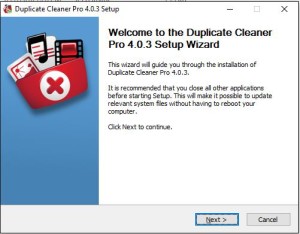
- Proceed on to Welcome screen of the setup, click Next


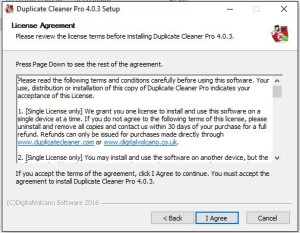
- Read the license agreement and if you agree, proceed by clicking “I Agree”


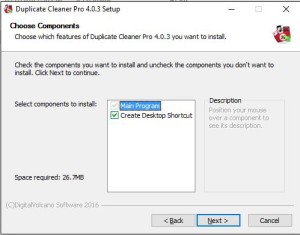
- Choose components and click Next


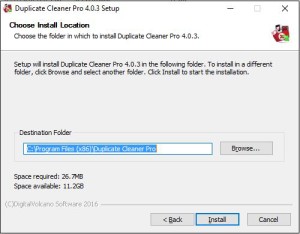
- Set the install location and click Install


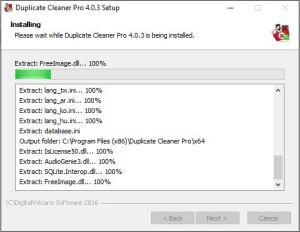
Installer will start extracting files:


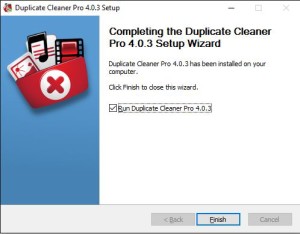
- Once installation is completed, Click Finish to complete


Run Duplicate Cleaner
If you have followed the above steps, Duplicate Cleaner should start by itself after you click finish. If it’s not started then launch it from your Desktop or its install Path. Once Duplicate Cleaner starts, you will see following logo:


Next you will be prompted to select Language:


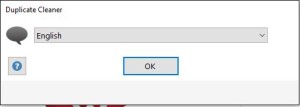

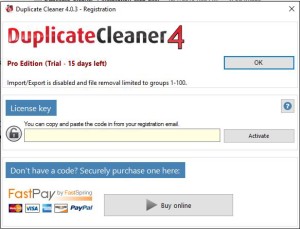
Click OK on next screen to proceed with using Trial edition:



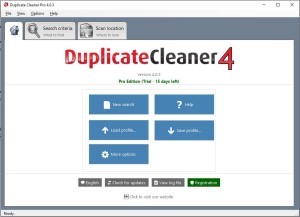
Welcome to Home Screen of DuplicateCleaner4, click on New Search on below screen:



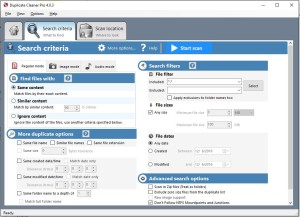
Set the search criteria parameters as per your requirement, in this basic tutorial, I’m going ahead with default settings:
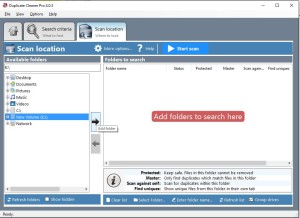
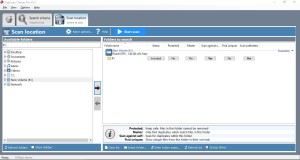
Once search criteria is defined, Click on “Scan Location” tab to view following screen:
In the left pane select the folders/drives you wish to scan and add them using Add folder button or “->” button
Once ready, click on Start Scan.
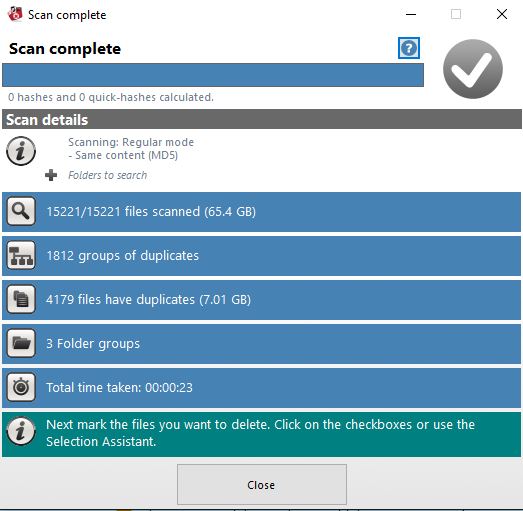
This is start a process consistent of multiple steps and you will come across screens titled “Discovering Files”, “Calculating Hashes”, “Performing Checks” etc. Let the tool do its job and wait for the process to complete. Once the analysis is complete, you will see a screen similar to this:
Click on Close button.
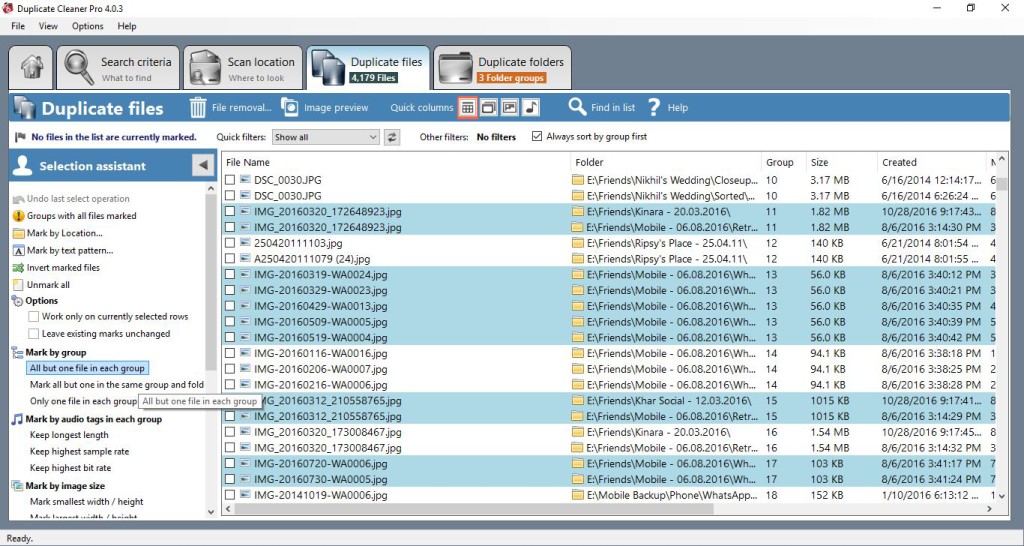
You will be displayed an overview of files along with their details.
The files displayed will be either of 0 bytes or the ones which have duplicates.
Click on All but one file in each group to select a bulk of files and leave only one out of each duplicate group.
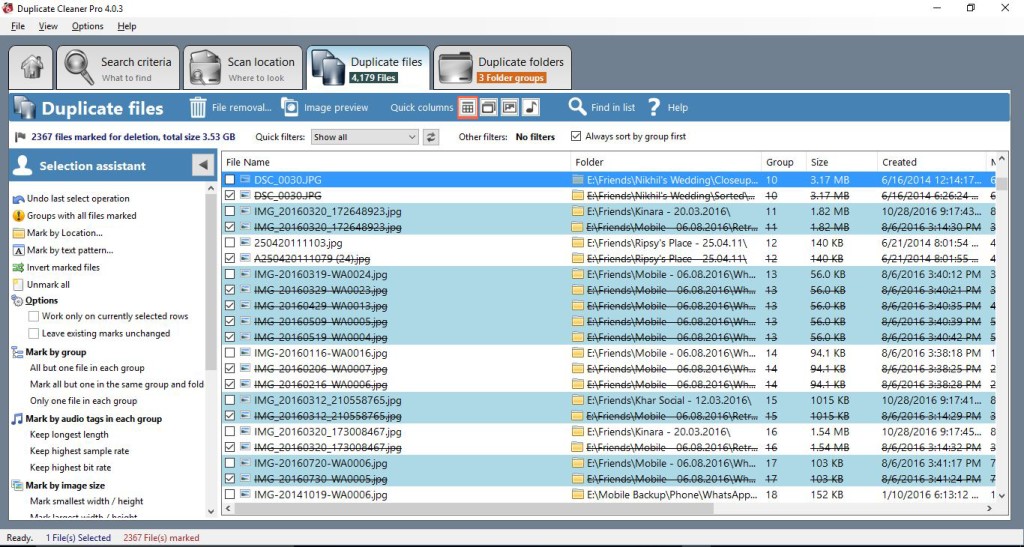
You can then proceed with removal process to remove the duplicates. Select the files you wish to remove and click on “File Removal” button (visible in above screenshot, below Scan Location tab).
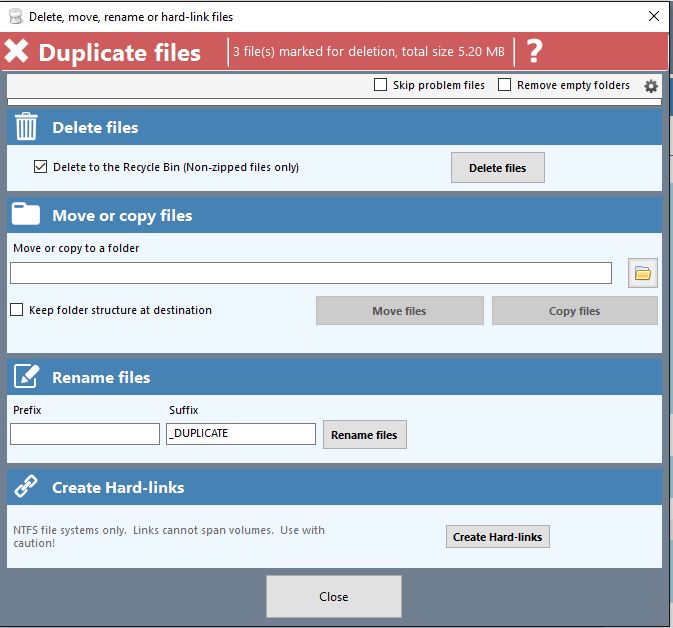
For this tutorial, I unmarked all and selected only three files and proceeded with file removal:
Click on Delete files and Confirm on alert message:
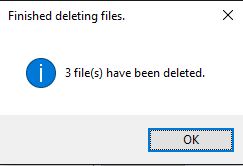
You will be confirmed that files were deleted:
You can now empty the recycle bin to delete the files permanently (or restore if necessary)
Some useful points:
- Be cautious if you are running this tool on some kind of server. Sometimes 0kb files might include flag files which might be used by schedulers, third party applications, etc. Even though a 0kb file might appear to be of less importance, always ensure that it is safe to delete it.
- Always remember to move files to Recycle Bin. This way, in case you accidentally deleted some important file, you still have a chance to recover it.
- Trial version allows deletion of files from Group 1 to Group 100 only. Use the data from the first scan and you should be able to filter out certain folders which are just copies or contains bulk of duplicates. Take care of these files first and do a re-scan. Second scan should take hardly some time.
There are a lot of other options available with this tool, but we have focused only on finding and deleting duplicate files in this tutorial.
If you have some doubts with this tool, free to post a comment below.


Thank you for helping me for the quickly network thank you thank you
Try using Duplicate Files Deleter.
I suggest you to use DuplicateFilesDeleter for finding Duplicate files. you can solve this problem easily.
Thanks for the detailed review of tools for finding and removing duplicates. I want to add another very simple program to this list. Orderprog Duplicate File Finder https://orderprog.com/remove-duplicates-all.php
DuplicateFilesDeleter is the best software tried and quite easier to use too.