How to Create Virtual Cloud Network (VCN) in Oracle Cloud Infrastructure (OCI)

Virtual Cloud Network (VCN) is similar to traditional data center network, except that this is created on cloud. OCI provides complete control to network administrators over the network.
Before we begin creating new Virtual Cloud Network, we need to collect following information:
- Virtual Cloud Network Name – to identify VCN
- Compartment Name – Compartment in which VCN should be created
- CIDR Block – to set range of private IP addresses available in VCN
- DNS Label – name for your VCN which will be used in Instance’s FQDN along with subnet DNS label. For e.g. if your VCN’s DNS label is “finance”, subnet’s DNS label is “sap” and instance’s hostname is “entserver” then Instance’s FQDN would be “entserver.sap.finance.oraclevcn.com”
Rules to be followed while creating VCN:
- DNS label can be upto 15 characters
- If you plan to peer this VCN with any other VCN, then ensure that VCN does not have overlapping CIDR addresses
Now, for this example let us assume following values for creating Virtual Cloud Network in Oracle Cloud Infrastructure:
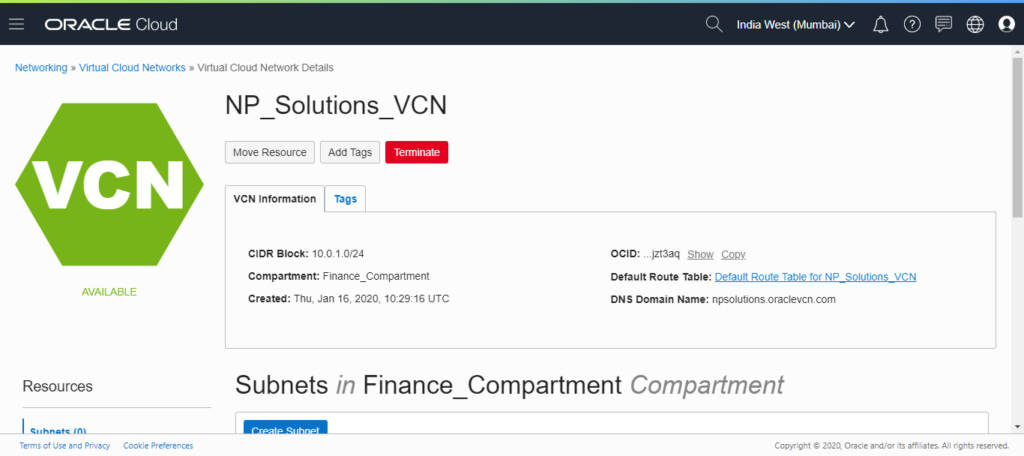
- Virtual Cloud Network name – NP_Solutions_VCN
- Compartment name – Finance_Compartment (Created in How to Create Compartment in OCI example)
- CIDR Block – 10.0.1.0/24 (this will provide us with 256 IP addresses range, from 10.0.1.0 to 10.0.1.255)
- DNS Label – npsolutions
Let us now begin with creating Virtual Cloud Network.
Follow these steps:
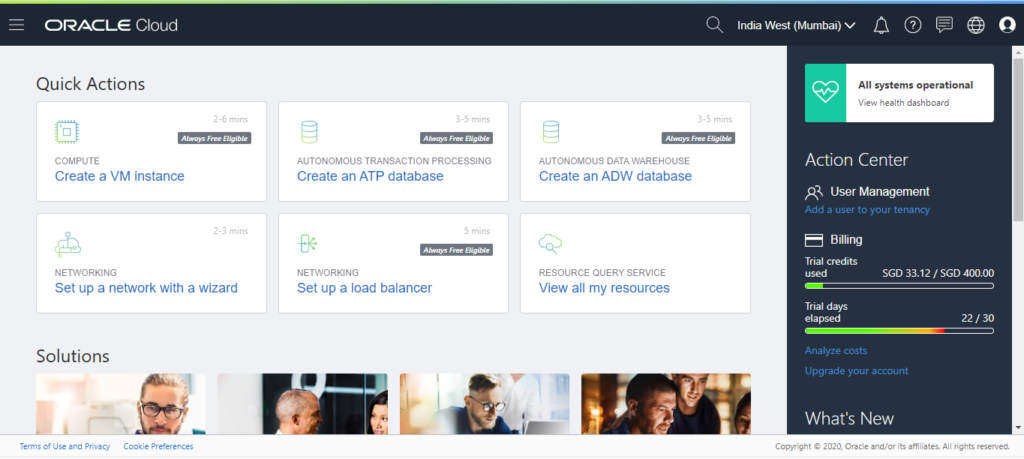
Step 1: Login to Oracle Cloud Network



Step 2: Select Virtual Cloud Networks Menu
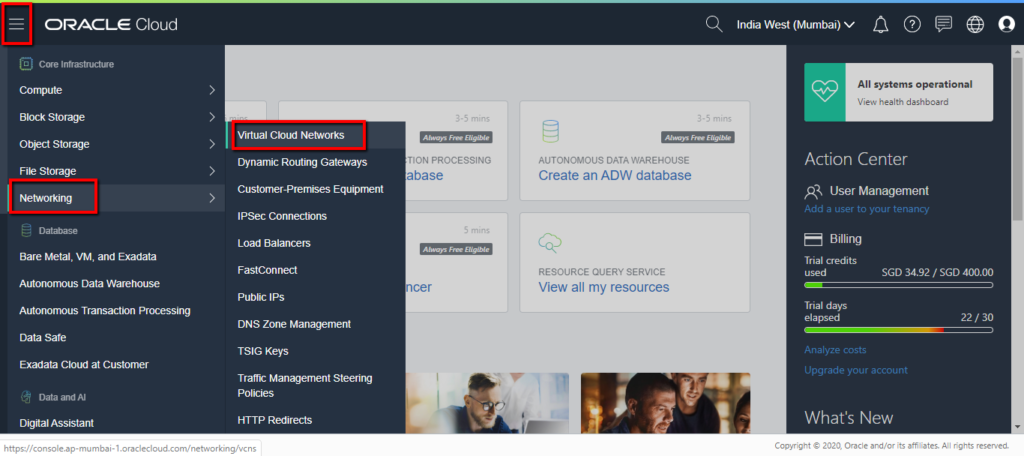
Click on hotdog menu, hover over Networking option and click on Virtual Cloud Networks



Step 3: Click on Create Virtual Cloud Network button
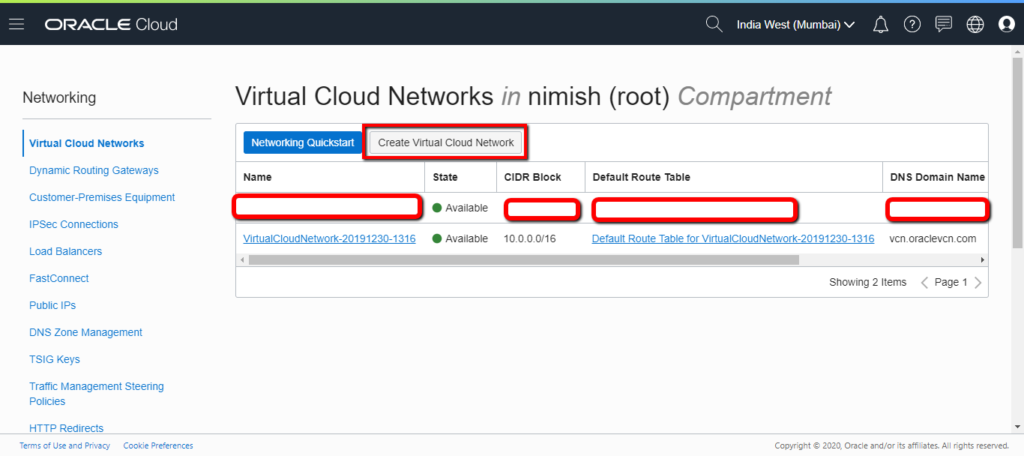
On the top of the screen, you will need to click on “Create Virtual Cloud Network” button



Step 4: Fill Network Details and Create Virtual Cloud Network
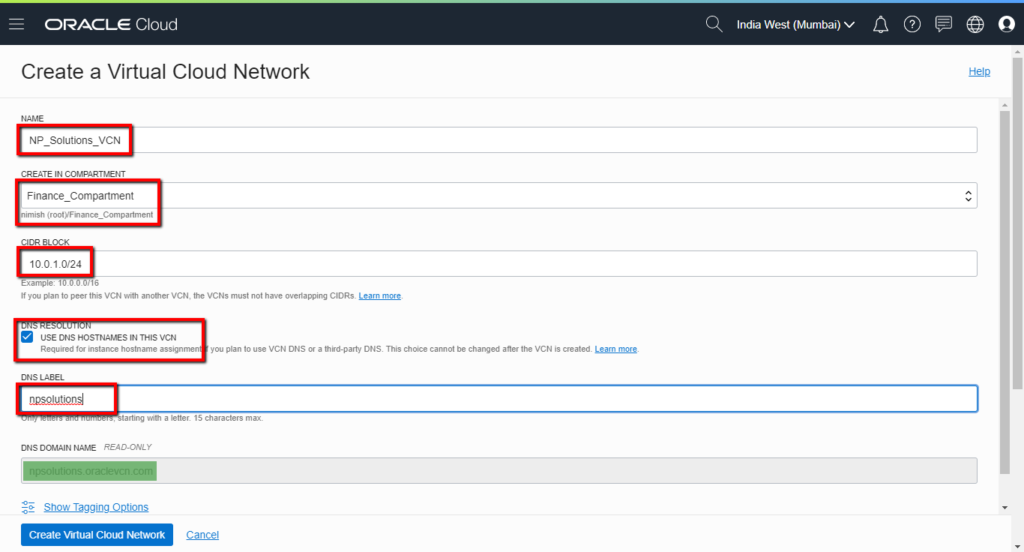
Fill in the Virtual Cloud Network details we had collected before and click on “Create Virtual Cloud Network” button at left bottom of the screen.



Step 5: Verify your Virtual Cloud Network is created


