How to Add Site in Google Webmaster Tool

Adding a new site to Google Webmaster Tools is pretty simple. The pre-requisite for adding a site to Google Webmaster Tool is to have a google account. It is absolutely FREE and EASY to create an account at Google. You can visit the Google Sign Up page and register. Once you are ready with a Google account just visit Google Webmaster Tools, login with your account details, if you are not logged in yet.
Once you enter Google Webmaster Tools you will see a list of sites affiliated with your account. These includes the blogger sites of which you are the administrator as well as the sites (non blogger) which you have verified from the webmaster tools. This is a quick preview of something that you will see in your webmaster tools. (click the image to view full size).
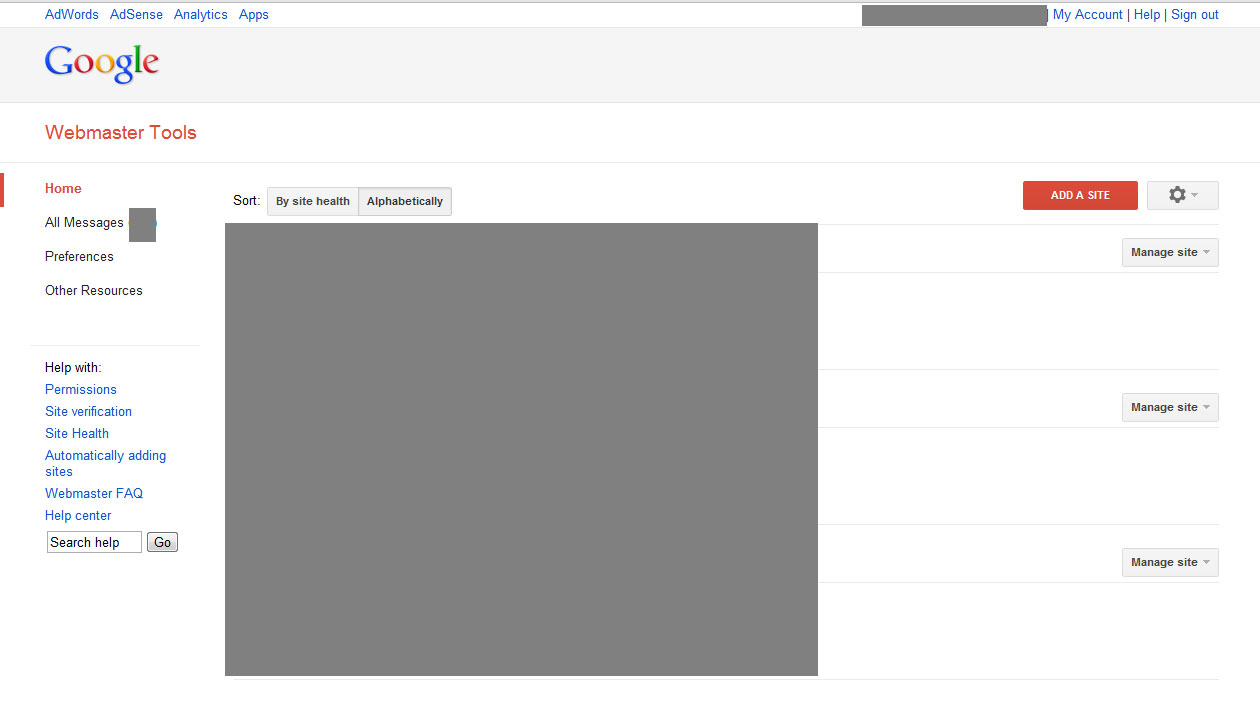
As you can see in the above image, there is a red button on the right hand side top corner which says ‘ADD A SITE‘.
Click on the button and a popup inframe window will come up where you can enter the URL of your website. Here’s an example for your reference.
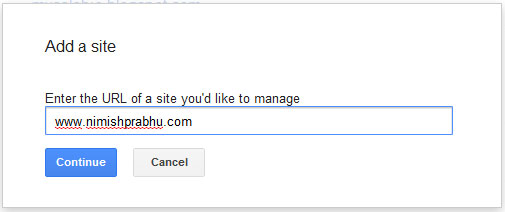
Enter the URL of your websites as shown above and click on the blue button which says Continue.
Once you click on the continue button, a new page will come up which will prompt you to verify the ownership of your website. It will be similar to something as shown below.
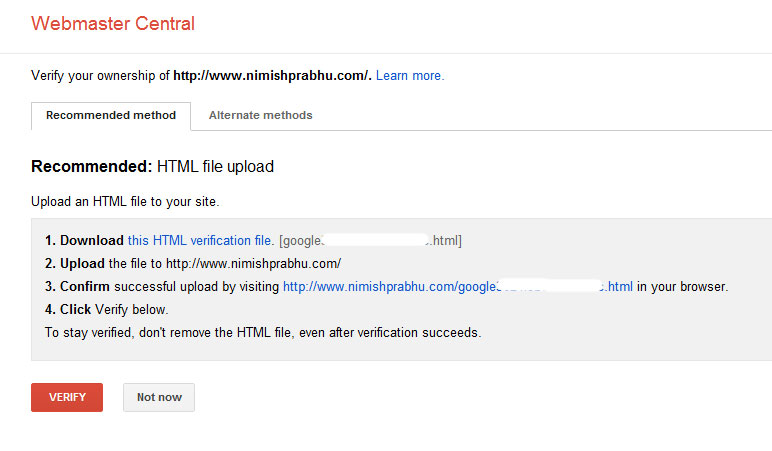
As you can see, the text ‘this HTML verification file‘ is hyperlinked. Click on that link to download the file. As instructed by the page, upload the file to the root directory of your domain. Confirm that your file is properly uploaded by visiting the link shown on the page. If it is not, then you will get a 404 error. If it is properly uploaded then just click on verify site and your site will be successfully added to your Google Webmaster Tools Account. You can then manage your site’s information in Google from there.
Case 2 :
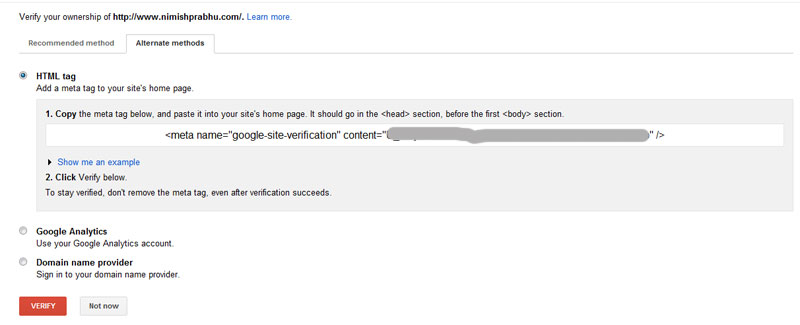
If you do not have access to cPanel or FTP. And you are not able to upload the file to your document root, then you can use the alternate method. Click on the “Alternate Method” and new tab on the same screen will be displayed. You will be shown 3 options.
- HTML tag
- Google Analytics
- Domain Provider
You can choose either of the three options and verify your site by following the simple instructions mentioned in each of them. Once you complete the instruction, just click on Verify and your website will be added to Google Webmaster Tools.
HTML Tag
Incase you have any doubts, let me know by commenting on this post or contacting me via the contact page.